

12·
9 hours agoMore like Soon Off to Salvador

More like Soon Off to Salvador

Do we call America a fascist state yet or is it too soon?
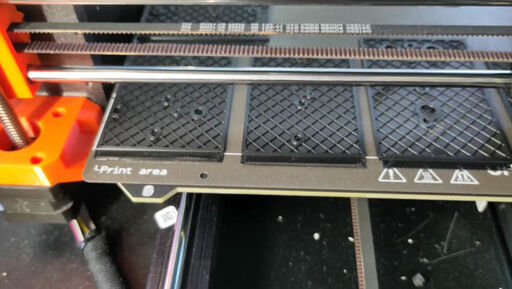
Finished print 🙂


Agreed.
All I was saying was, no need to say Allegedly here. People who patronize Luigi Mangione forums have a pretty good idea who they think did it, they actually agree with what they think he did, and there isn’t much point in reminding them that Luigi is technically innocent until proven guilty.
Oh well… At least Luigi will have his day in court, unlike the poor sods who were shipped off to Salvadorian concentration camps without due process by the Trump regime. In this weird day and age, Luigi might be luckier than most in that his constitutional rights will be respected.
the frame rate is ass
Well, in my case, I just bolted an el-cheapo supermarket-bought webcam inside the printer’s enclosure. It’s terrible in every way: it has fixed focus and the bed of the printer isn’t in the focus plane, it has terrible rolling shutter and no manual exposure control.
The webcam is connected to one of the production servers nearby that serves up the video as a MJPEG stream using Motion. It’s Motion that limits the framerate to 2 fps, and I configured it that way on purpose: I just need the camera to know whether something terrible has happened to the print and I should stop it remotely - like parts lifting or coming fully unstuck from the sheet, extruder collision… I don’t need quality video for that, so I chose the low framerate and poor resolution primarily to save bandwidth on my home internet, which is kind of crap because I live deep in the forest 🙂
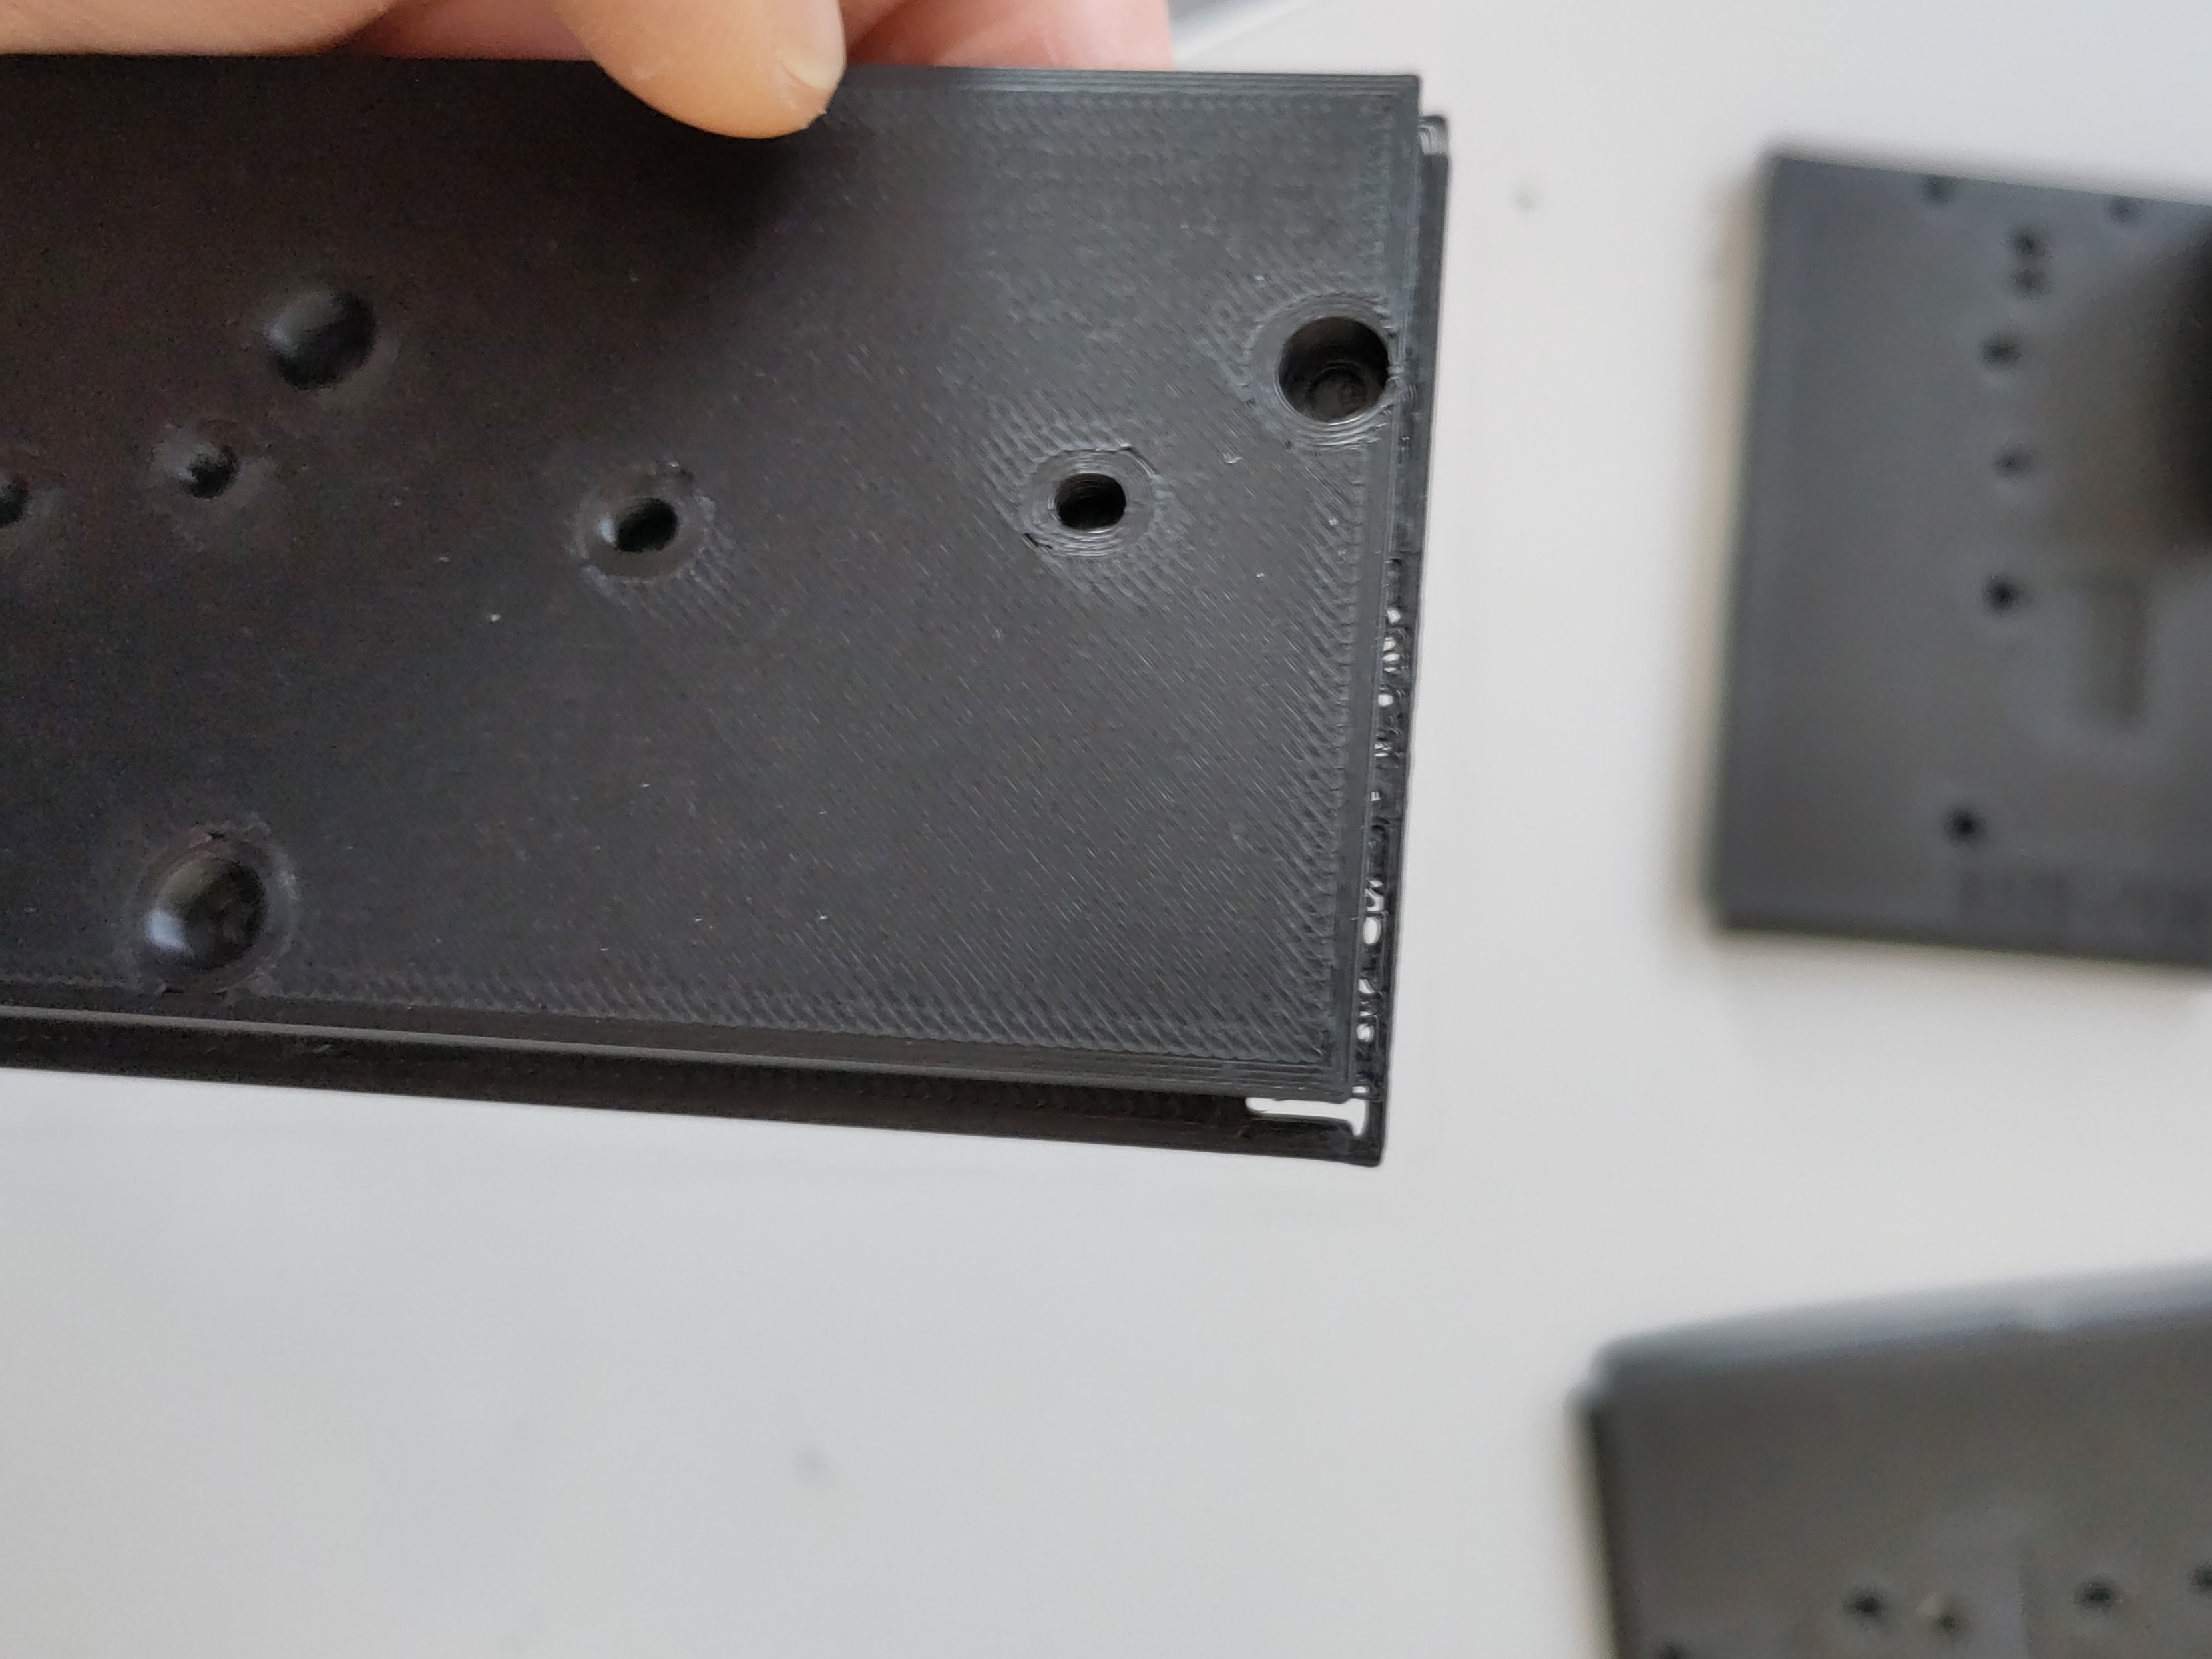
I’m much more interested in whatever mechanical contrivance you’re printing parts for, there.
It’s a bit complicated to explain, but to make it simple: the top parts are optical couplers. They have a slot and a dovetailed circular rail inside that you can’t see because it’s buried in the support. The bottom parts are shutters that ride in the rail and block off more or less of the light in the side of the couplers that has the rail, and have a lever on the other side. The side parts are just mounting clips to hold the couplers onto the optical measurement instruments they’re meant to be mounted on.
Those parts cost cents to make and work just as good as multi-hundred dollar professional optical attenuators, and they’re a lot more convenient for a quick manual adjustment that doesn’t require a precise number of decibels of attenuation.
Allegedly
Yeah… That’s cute, but if people truly believed there was any doubt that he did it, there wouldn’t be the wave of support and enthusiasm he unwittingly created.
What is all this about listening in on calls between defendant and lawyer. Sounds very sus but im not knowledgeably enough about legal stuff to really understand it.
I don’t know if you’ve noticed, but due process has been thrown out the window in the United States.
Also, Mangione has committed the most terrible of all crimes: he attacked corporate America. He will be spared nothing.

If there’s proof that corporations are psychopathic by nature, it’s Microsoft casually doing business with an exceedingly unsavory character who richly deserves to be ostracized everywhere he goes and in everything he does like Elon “Sieg Heil” Musk.

All Trump’s cabinet picks were doomed from the start.


Kinda hard to attack him on antisemitism…

Yeah but if they don’t destroy it, how will SpaceX siphon off taxpayer’s money?
He is a liar, for sure. But I think at this point, it’s become pathological, and mixed with a good dose of early senile dementia.
The things he says are so outrageous and obviously untrue and even the dumbest magat can tell he’s spewing BS, but Trump doesn’t even realize it anymore.
He’s essentially a crooked man who’s grown into an angry old man, but instead of shaking his fist at the TV in a retirement home, he’s sitting in the Oval Office.

That’s a good start.
But Tesla will never get a cent from me as long as Musk owns Tesla stock.

Yes, Mark Carney is not great. But anything is better than Poilievre.
Just like anything was better than Trump. But while the Americans are too dumb to realize this, the Canadians aren’t.

Don’t put a return address on the envelope if you want to make sure you won’t be forced to visit El Salvador some day.
I have an idea: I’m gonna tattoo “NOT” on my knuckles, so that when someone photoshops “MS13” on my hands, Trump won’t deport me.
Genius!

IANAL but my attorney once told me he witnessed a guy defending himself in court for involuntary manslaughter saying “I didn’t see the red light because I was drunk.”
Microsoft has been pumping out bad code made by bad human coders for half a century, and now they’re pumping out bad code made by AI. That’s progress!


And the price of eggs still hasn’t come down…